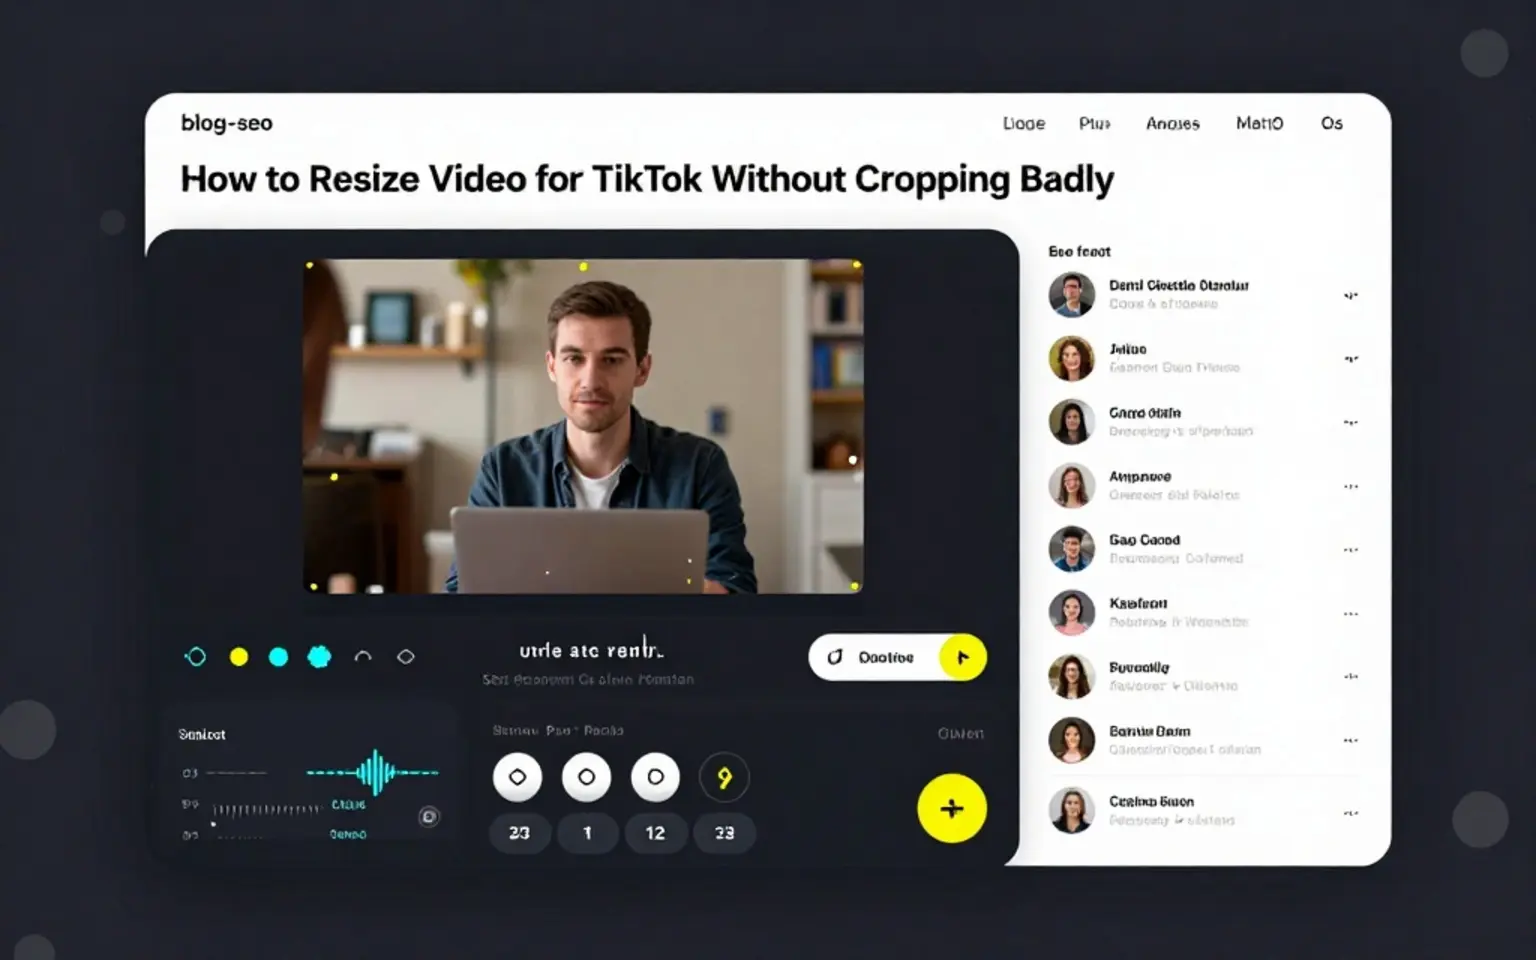
How to Resize Video for TikTok Without Cropping Badly
Resize videos for TikTok with the right 9:16 canvas, blur or solid backgrounds, safe framing, and captions that stay readable.

Kevin Li
TikTok is a vertical-first platform, so most videos should be prepared in a 9:16 frame. The tricky part is choosing whether to crop the source video or keep the whole frame visible with padding.
If you resize too aggressively, you can cut off faces, captions, or screen details. If you add padding badly, the clip can feel unfinished. The best approach depends on the source video.
Use 9:16 as the starting point
For TikTok, start with a 9:16 vertical canvas. That is the shape most viewers expect on a phone.
Open the free video resizer, upload your file, and choose the TikTok or 9:16 preset. From there, decide whether the video should fill the frame or stay fully visible.
The choice is less about TikTok as a brand and more about the viewing surface. A phone-first viewer gives you a tall, narrow frame. Your job is to decide whether the subject should fill that frame or whether the full original shot needs to stay visible.
Choose the right fit mode
Use crop-to-fill when the important subject is already centered and you can safely remove the sides. This often works for talking-head clips filmed in widescreen, as long as the speaker stays near the center.
Use blur background when you need to keep the full frame visible. The original video sits inside a vertical canvas, and a blurred version fills the empty space behind it. This is useful for screen recordings, interviews, webinars, and horizontal footage where the sides matter.
Use a solid background when you want a cleaner, less busy frame. Solid backgrounds can work well for educational clips or branded videos, especially if the main video remains readable.
If you need to choose a specific part of the image instead of using an automatic fit, use Crop Video.
Leave room for captions and platform UI
TikTok viewers often watch with sound off, so captions matter. Keep caption text inside the visible safe area and avoid placing important words too close to the bottom edge.
Platform UI can cover the lower and right areas of the screen. If you are adding burned-in captions, preview the clip on a phone-sized frame before publishing.
Use the auto subtitle generator after resizing if you want captions designed for the final frame.
If the clip comes from a longer video, choose the moment before resizing. Resizing a full webinar or podcast episode first creates extra work because you may spend time formatting footage you will never post. Pick the final segment, then resize the clip that actually matters.
This is also the right time to decide whether the clip needs a title, captions, or a simple background. A talking-head clip can often use crop-to-fill. A screen recording usually needs more space and may work better with a blur or solid background.
Avoid stretching the video
Do not stretch a horizontal video to fill a vertical canvas. Faces and objects will look distorted. Use crop, blur background, or solid padding instead.
Stretching may seem like a quick fix, but viewers notice it immediately. A clean padded layout is better than a distorted full-frame video.
Export settings
For quick social clips, 720p can be enough for drafts and lightweight exports. Use 1080p when you want a sharper final upload and your browser can handle the export.
Browser-side processing depends on the file size, codec, and device. Keep the tab open during export and test the downloaded MP4 before posting.
Do not judge only by the preview frame. Watch the exported file from start to finish at least once. Look for jumpy cuts, captions that sit too low, and moments where the subject moves outside the comfortable center area.
Common mistakes
The biggest mistake is assuming every clip should be cropped to fill. If the source contains slides, software screens, or multiple people, cropping may remove important information.
Another mistake is resizing before choosing the clip. If you are repurposing a long video, choose the best moment first, then resize the final clip.
Creators also forget to check caption placement after resizing. Captions that looked good in widescreen can become too wide or too low in a vertical frame.
Related tools and guides
- Resize in the browser with Video Resizer
- Select a specific frame area with Crop Video
- Add captions with the auto subtitle generator
- Turn long recordings into clips with Long Video To Clips
- Compare dimensions in best video size for Reels and Shorts
FAQ
What size should a TikTok video be?
Use a 9:16 vertical frame for most TikTok videos.
Should I crop or add a blur background?
Crop when the subject stays centered and side content is not important. Use blur background when you need the whole video visible.
Can I resize a horizontal video for TikTok?
Yes. Use a vertical canvas with crop, blur background, or solid padding.
Should I add captions before or after resizing?
Usually after resizing, so captions fit the final frame.
Is browser resizing enough for large videos?
It can work, but very large files may be slow or memory-heavy. Test the export before relying on it for a deadline.